The digital revolution is propelling forward, taking the world by storm. Among its innumerable impacts, it has massively transformed the way we express ourselves. While words and photos have been our trusted allies for centuries, it’s now videos that are capturing our imaginations and emotions. With advancements in technology, anyone can create captivating videos. Today, we delve into an often-overlooked aspect of this evolution – creating videos using PNG files.
Before we delve into the “how,” let’s understand the “what.” PNG, or Portable Network Graphics, is a popular image format known for its lossless compression – meaning it retains quality regardless of how many times it’s opened or saved. This, coupled with its ability to support transparent backgrounds, makes PNG ideal for creating videos.
The Basics
Why Use PNG in Videos?
Images breathe life into videos, making them more engaging and visually appealing. The PNG format allows for high-quality images with transparency, a characteristic that can be creatively leveraged when layering images or superimposing them onto video clips.
Tools You’ll Need
To create a PNG video, you’ll need the following:
- PNG images: Ensure they are of high quality, clear, and relevant to your video.
- Video editing software: There is a variety of software available, both free and paid, such as Adobe Premiere Pro, iMovie, Final Cut Pro, and Blender, to name a few.
Preparing Your PNG Files
Choosing and Editing Your Images
Once you’ve decided on your video theme, carefully choose PNG images that best represent your vision. You may need to edit these images for size, orientation or to apply special effects. There are plenty of photo editing tools like Adobe Photoshop or free online alternatives like Canva and Pixlr.
If you’re eager to unleash your creativity and transform your Adobe Illustrator designs into a portable PNG format, here’s a quick and effective method that you can follow.
Creating a Transparent Background
PNG’s ability to have a transparent background allows images to blend seamlessly into the video. To create a transparent background, use tools like Photoshop or online services such as remove.bg.
Creating a PNG Video
Importing PNG Files into Video Editing Software
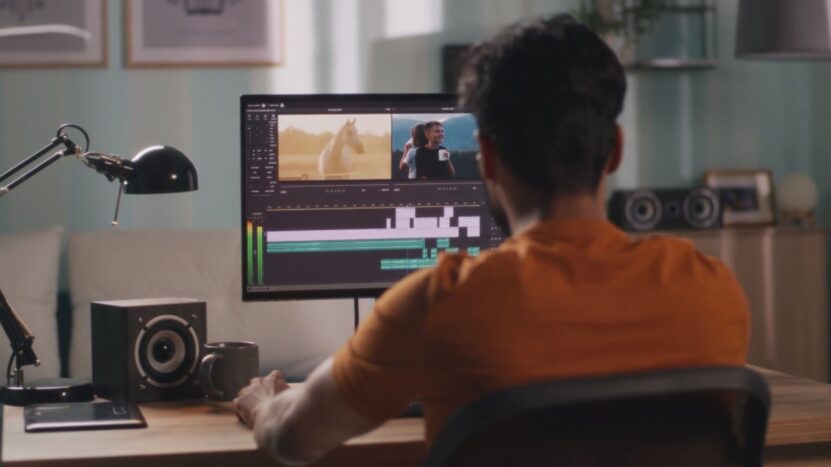
Import your PNG files into your chosen video editing software. This is usually a straightforward process, often involving dragging and dropping files into the software’s interface.
Placing PNG Files on the Timeline
Once imported, the PNG files will appear in your project’s media bin. From there, you can drag and drop them onto your video timeline where you want them to appear.
Editing and Positioning Your PNG Files
You can resize, rotate, and position your PNG files on the screen as needed. You can also animate them, making them move, fade in or out, or even change color over time.
Syncing PNG Files with Audio
If your video includes audio, such as a voiceover or music, it’s essential to synchronize the appearance and movement of your PNG files with the audio. This synchronization can elevate the impact of your video, creating a more immersive experience for your viewers.
Exporting Your Video
Once you are satisfied with your video, export it in your desired video format, such as MP4, ensuring the resolution and quality settings align with your distribution plan.
Tips for Creating an Engaging PNG Video
Storytelling Is Key
A cohesive story enhances viewer engagement. Use your PNG files as elements in your narrative to draw viewers in and keep them hooked.
Maintain Quality
Always use high-resolution PNG files to ensure your video maintains quality when viewed on larger screens or projected.
Leverage Transparency
Make the most of the transparency feature in PNG files. This can help you create stunning visual effects, like images emerging from the background or transitioning smoothly from one to another.
Keep It Simple
Avoid overcrowding your video with images. Keep it simple and clean for maximum impact and readability.
Making Your PNG Video Shine
Tell a Story
Beyond being a visual spectacle, your PNG video should narrate a compelling story. Arrange your PNG files in a way that captures the narrative arc, making your video more captivating.
Quality Is King
Always opt for high-resolution PNG files. These ensure that your video remains crisp and clear, even when viewed on larger screens or high-definition devices.
Harness the Power of Transparency
Transparency in PNG files isn’t just a cool feature but a potent creative tool. Use it wisely to create captivating visual effects that can set your video apart.
Less Is More
While it might be tempting to cram in as many images as possible, this could lead to a cluttered and confusing video. Striking a balance between visual appeal and simplicity is key to crafting an effective PNG video.
Advanced Techniques for PNG Videos
Understanding Motion Graphics
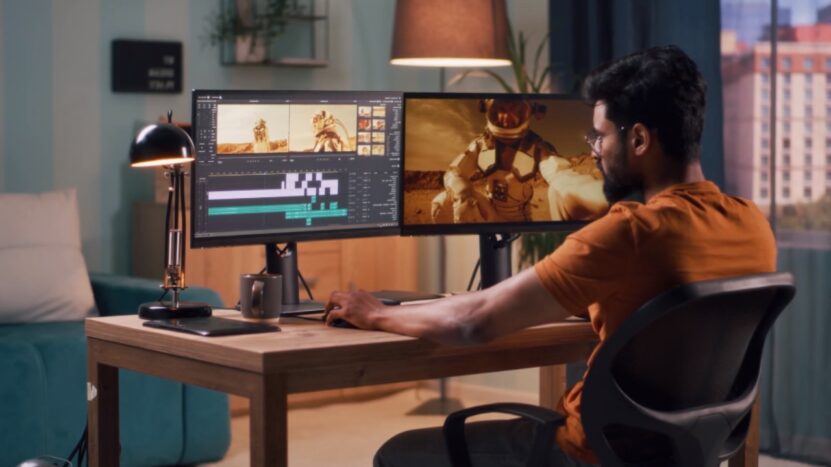
Motion graphics bring static PNG images to life, transforming them into dynamic visual elements. You can create a sense of motion with various animation techniques, like easing, which smoothly transitions images from one state to another.
Harnessing the Power of Keyframes
Keyframes are fundamental to animating PNG images. They define the start and end points of any smooth transition, allowing you to control the motion and transformation of your images over time.
Layering Images for Depth
Layering your PNG images creates a sense of depth and complexity, enhancing the visual appeal of your video. Remember, the order of the layers determines how your images overlap. You can place one image over another, creating unique visual effects and compositions.
Using Masks for Creative Effects
Masking is a technique where you use a shape or a path to reveal or hide portions of an image. This can be leveraged to create unique transitions between images or to highlight specific parts of an image.
Experimenting with Blending Modes
Blending modes control how two layers interact with each other. This can result in a variety of effects, like changing colors, creating shadows, or simulating reflections, adding an extra dimension to your video.
Frequently Encountered Challenges and Their Solutions
1. Dealing with Image Distortions
Sometimes, resizing or rotating PNG images might cause distortions. Use the ‘Maintain Aspect Ratio‘ feature to avoid this, ensuring your images retain their original proportions.
2. Overcoming Clashing Colors
When layering images, sometimes the colors can clash, making the video visually jarring. Use color correction tools or filters to harmonize your color palette.
3. Navigating Slow Performance
Working with many high-resolution images can slow down your video editing software. One way around this is to lower your preview quality. Remember, this doesn’t affect your final video quality.
Closing Thoughts
Creating a PNG video is not just about placing images over a timeline; it’s about telling a story and conveying emotions. With the right PNG files, appropriate editing tools, and a dash of creativity, you can create compelling videos that resonate with your audience. So go ahead and unleash your creativity, and let the world see your story through your unique PNG video.
The digital world is your canvas, and PNG files are among the myriad tools at your disposal. Don’t just tell stories; show them. The power of visual storytelling is immense, and with PNG videos, you can unlock it. Master the art of PNG video creation, and who knows? You might just become the next big sensation in the digital universe.

